This is a sponsored post written by me on behalf of Plasti Dip. All opinions are 100% mine.
Since earlier this year, we've been renovating our kids' classroom at our church. After installing a pallet board wall, it was onto adding accents to make the place fun and inviting. We had an old chair knocking about and I knew I had to upgrade it to brighten up our classroom. So when Plasti Dip asked me to create a DIY project using their newly launched Craft line of rubber coatings, I immediately set upon the idea of turning this old chair into a DIY Dipped Accent Chair project! And here's the tutorial for you! 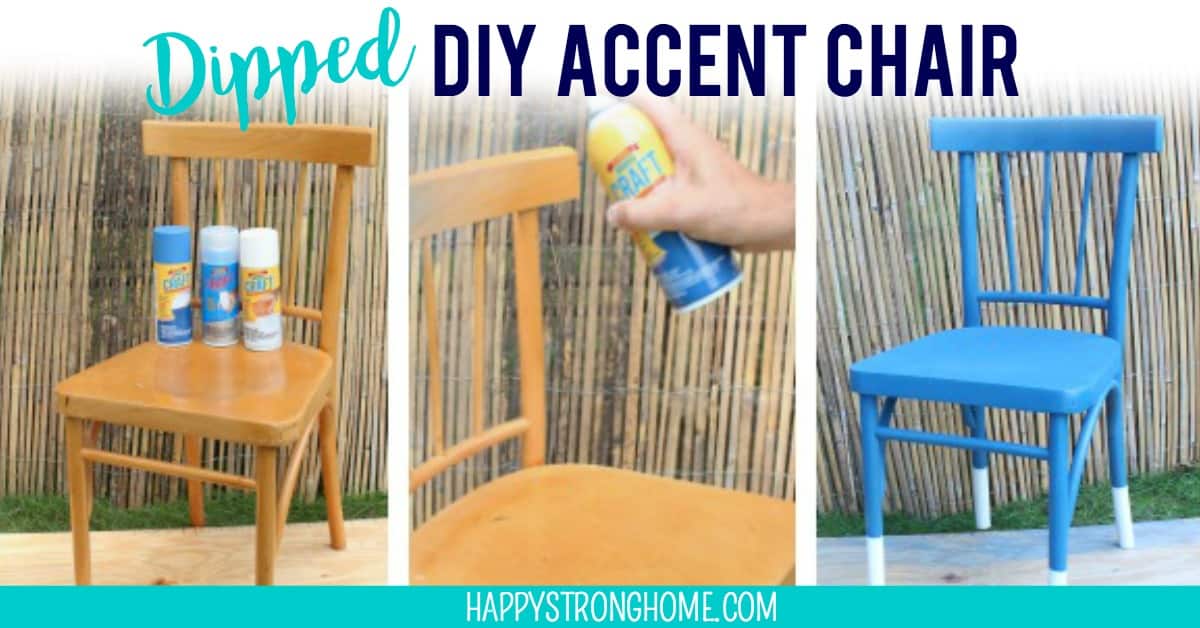
DIY Dipped Accent Chair Tutorial
I only needed a few materials to complete this project. Hubby and I were able to finish creating this accent chair in a Saturday while we did other chores and yard work. Since Plasti Dip Craft spray is easily available on Amazon, you can get a project going quickly - and finish quickly too! 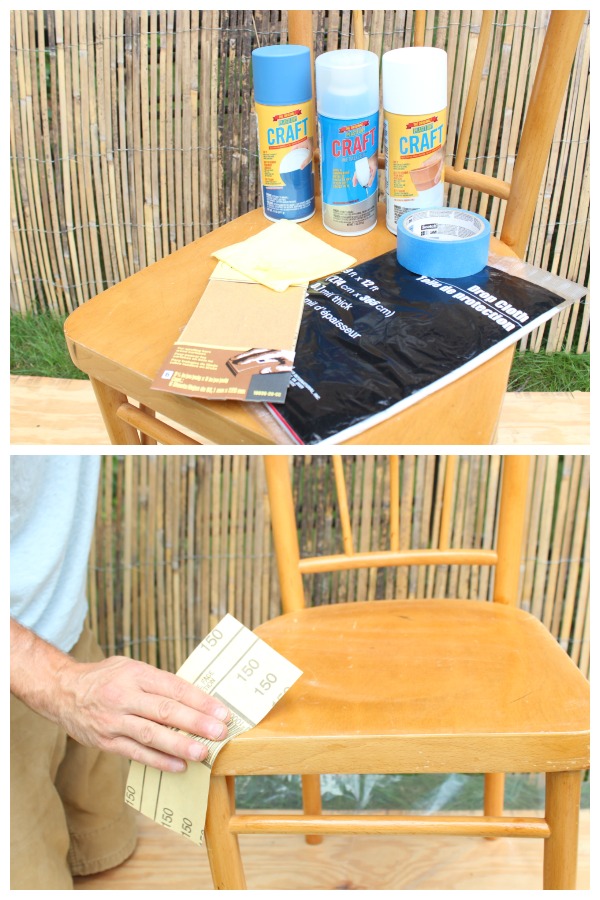 Materials needed for DIY Dipped Accent Chair Project:
- 1 old chair - or any other piece of furniture you'd like to spruce up.
- 2 cans of Plasti Dip Craft spray in a bold, bright color - I used the Gulf Coast Blue.
- 1 can Plasti Dip Craft spray in a contrast or highlight color - I used Crisp White.
- 1 can Plasti Dip Craft enhancer spray - I used Silver Metalizer Enhancer.
- Fine sandpaper
- Tacky cloth
- Paint drop cloth
- Painter's tape
- Ruler
Even though I ended up only needing two cans of the main color, you'll want to measure your own project and compare to the instructions on Plasti Dip's website to see how many cans your project will require.
I set our project up outside on a board to level the chair. Hubby cleaned and sanded the chair because it had a shiny varnish. Then he wiped the chair down with tacky cloth to remove stray dust particles. You don't need to sand items before using Plasti Dip, but we wanted to be sure the chair was really clean before beginning. 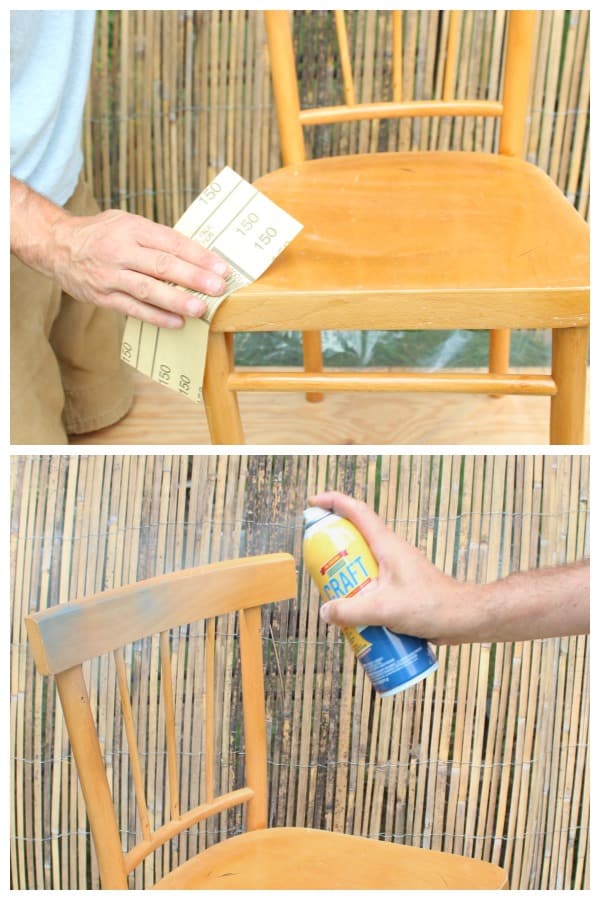 Time for the first coat! Plasti Dip goes on just like spray paint, only better! Because it's an air-dry rubber coating, it is flexible and stretchy. And it doesn't crack over time either! The first coat went on easily. If you have rounded chair legs, be sure to spray all "sides" so you get even coverage.
Let the first coat dry at least fifteen minutes or more. Apply a second and third coat. If you feel a fourth coat is needed, go ahead - we did!! Let each coat dry between at least fifteen minutes. This is the perfect project for a Saturday at home because you can work on other side projects while the Plasti Dip dries. 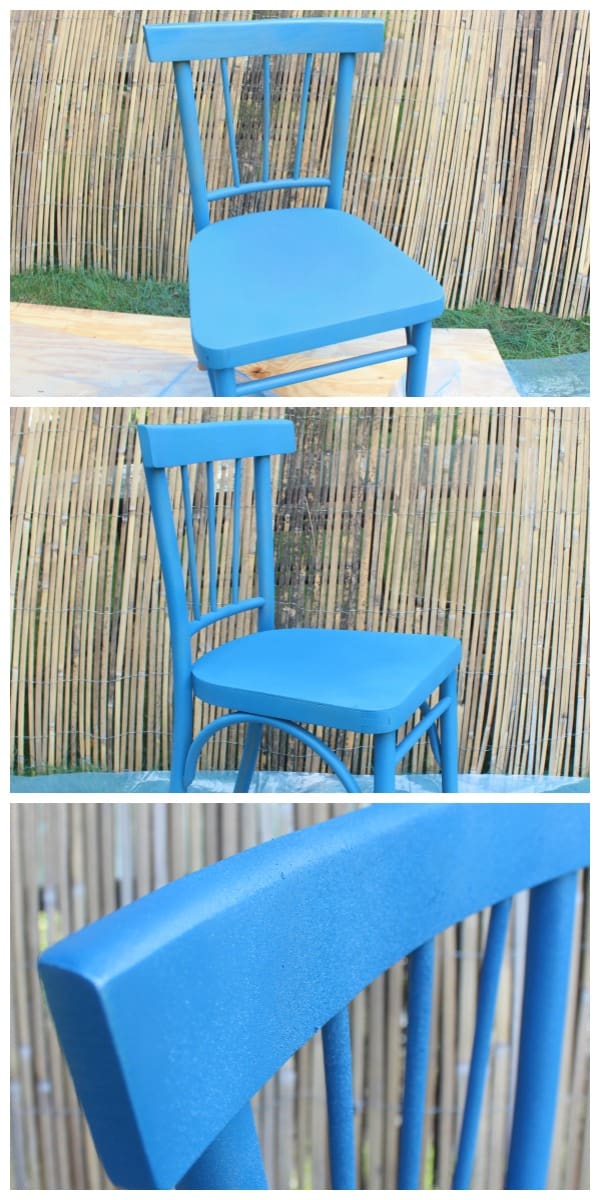 Next, we applied two coats of Plasti Dip Silver Metalizer enhancer over the blue, which gave the chair a wonderfully shimmery finish. It's really hard to capture the metallic shimmer in an outdoor photo but you can see the sheen with this up close photo.
Create the "dipped" effect on your chair
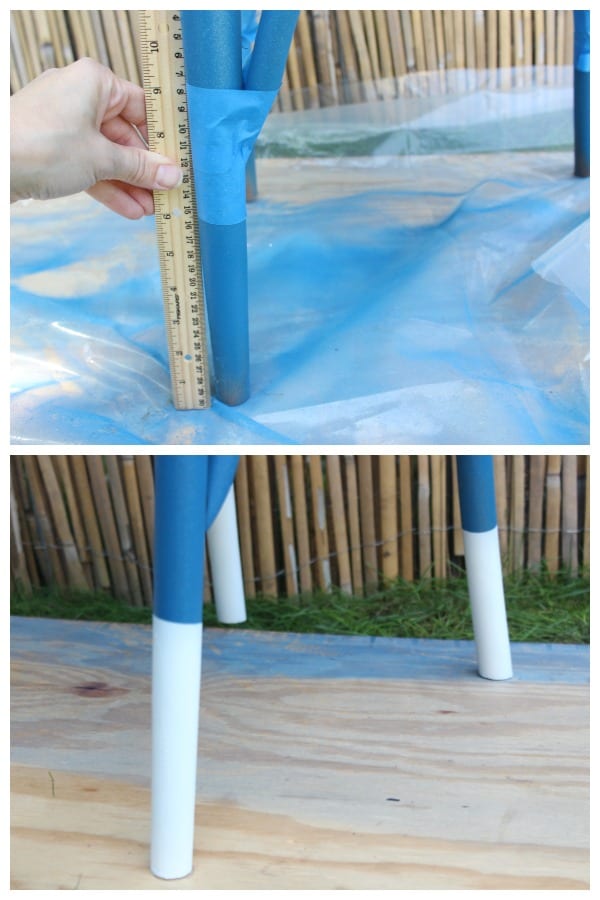 Finally it was time to created the "dipped" look. I measured the chair legs about six inches up from the ground, and taped off generously so there would be no "drift" of spray. Then we sprayed each of the legs with the Crisp White Plasti Dip with two coats. Once the Plasti Dip dried, we removed the tape and-- Voila! A DIY Dipped Accent Chair with a bold, modern look! Check out this before and after photo:
  Plasti Dip Craft is peelable off most surfaces - so if you make a mistake, you can peel it off and redo. Or if you don't love a color combo you tried, peel it off and try different colors. The rubberized Plasti Dip spray also protects your projects against moisture and skidding - which is perfect for our chair project. Plus it has a nice comfortable texture - imagine how great Plasti Dip Craft would be on a set of glasses or other table wear!
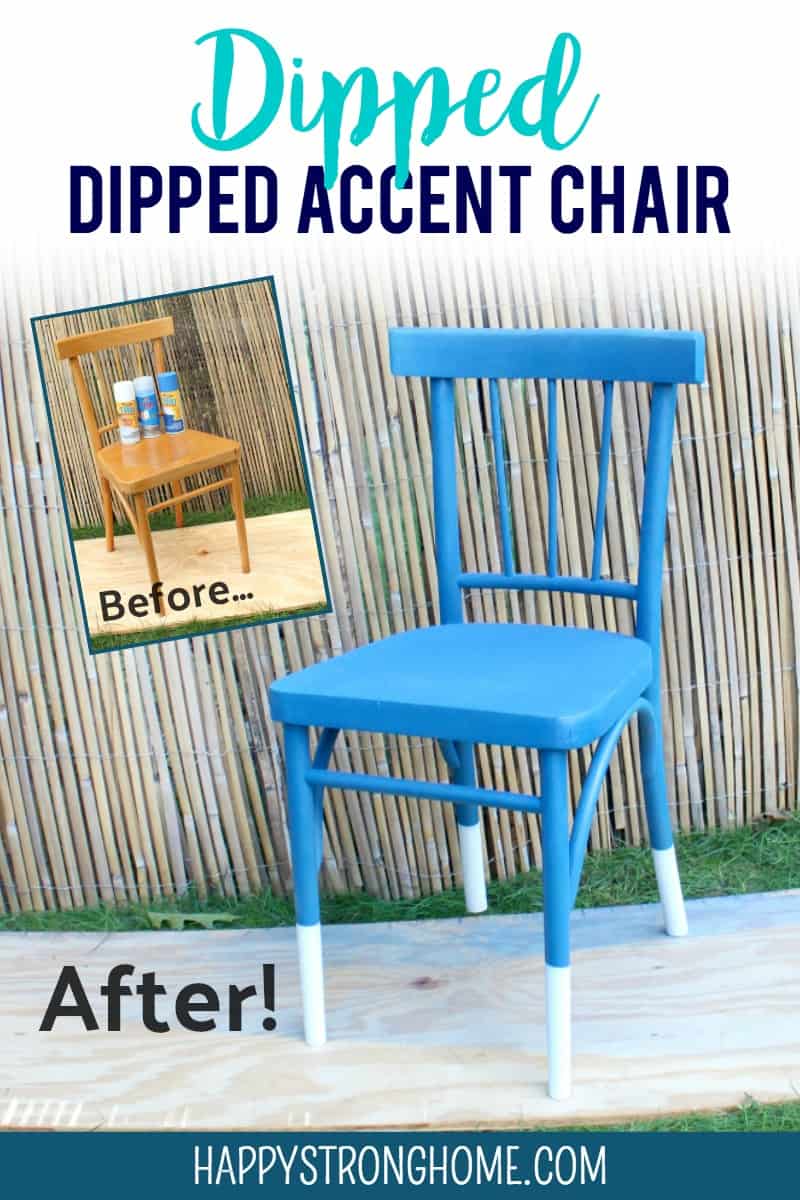
Brighten a room with easy Plasti Dip coated DIY projects
Our newly refreshed chair now brightens up our classroom and is a functional sitting spot for reading and teaching.
The Plasti Dip line has several options for crafters and builders. Check it out on Amazon or find a local retailer near you!
What would you decorate with Plasti Dip? 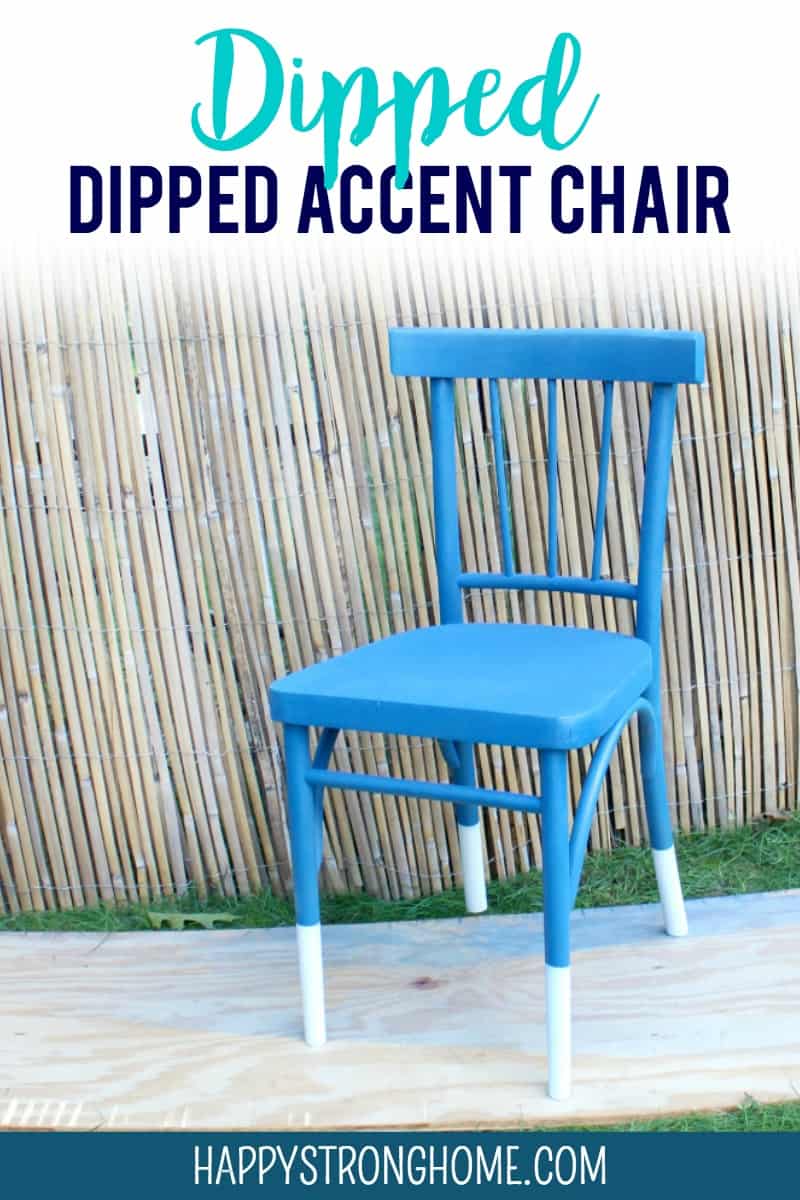


How has this chair held up over the years? Has the Plastidip peeled off at all? Does it remove easy if wanting to change the look? I am wanting to plastidip my varnished wood fireplace and.