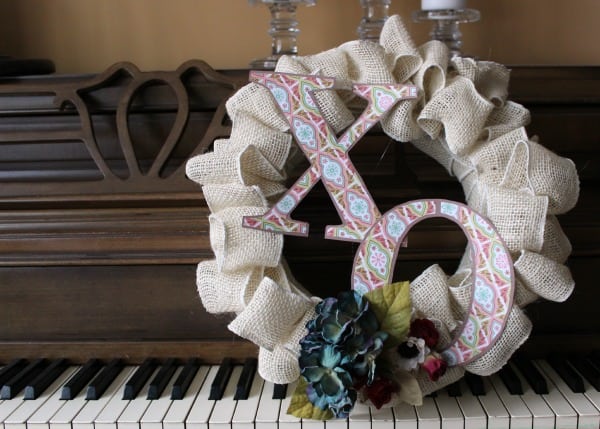
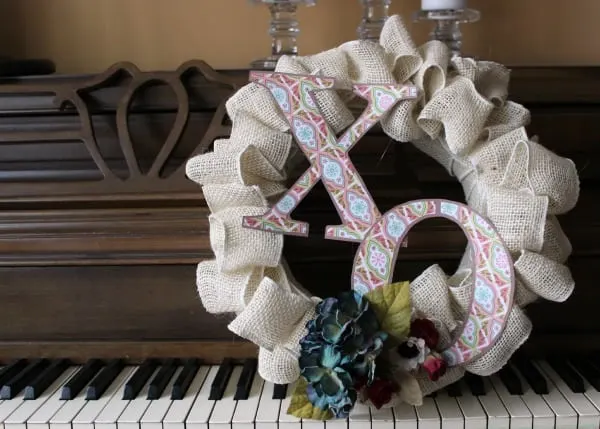
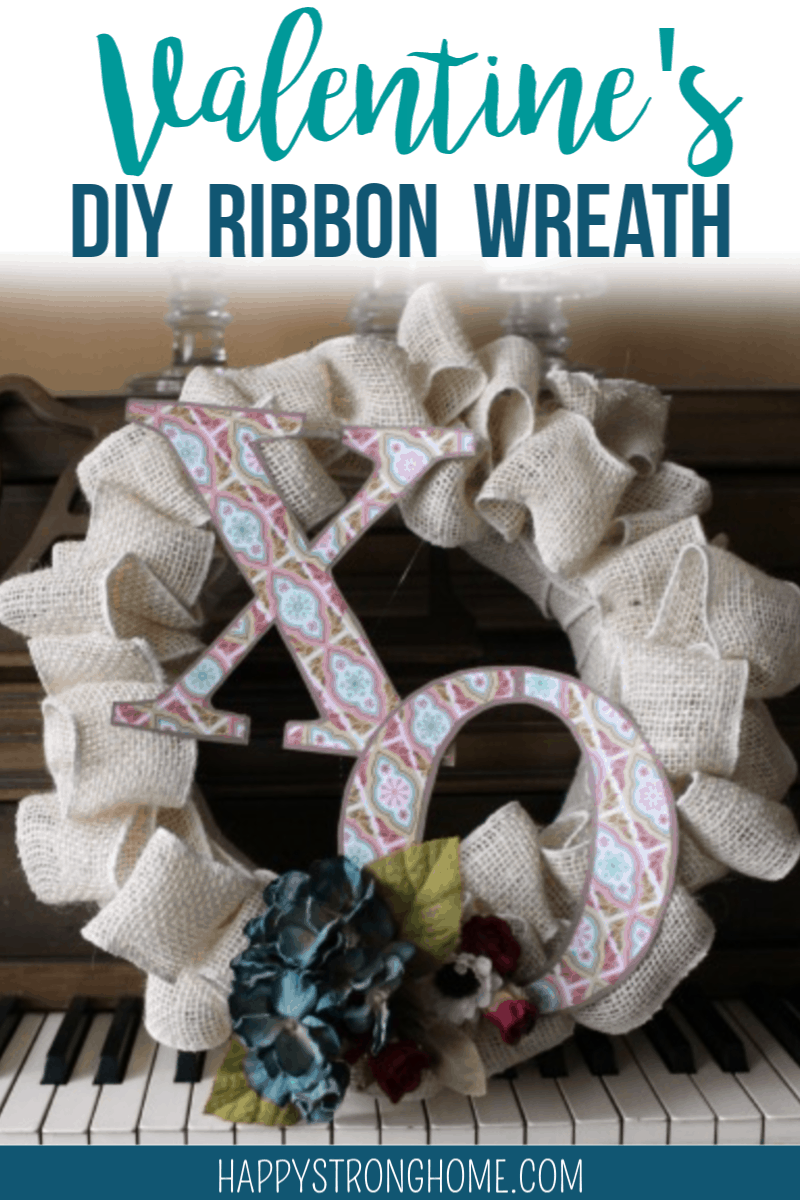
Wreaths are easy to make and can be a fun, quick project. They easily add a festive air to a door, bookshelf, or… in my case: piano! I wanted a little something Valentine’s that didn’t scream red and hearts everywhere. So I tried making this easy DIY Valentines ribbon wreath (in burlap, no less! But you can pick your own ribbon). You guys, I made this wreath project in a night! A single night! And I’m gonna tell you how!


What I love about making wreaths:
a) fast projects – rarely take me more than an hour
b) simple or complicated – work to your own level
c) require minimal “skill” – mostly wrapping, tucking, gluing
d) immediate decor change – switch from Christmas to Valentine’s just by swapping out the wreath on the door. Voila!
I couldn’t believe how easy it was to throw together this DIY Valentine’s Day Burlap Ribbon Wreath.
Materials for a DIY Valentines ribbon wreath
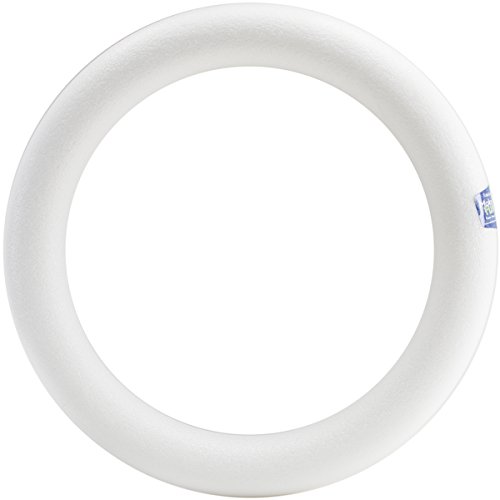
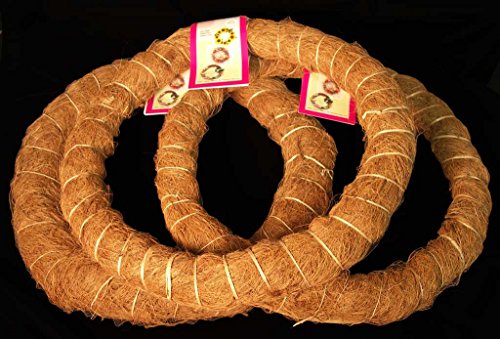
- Wreath form
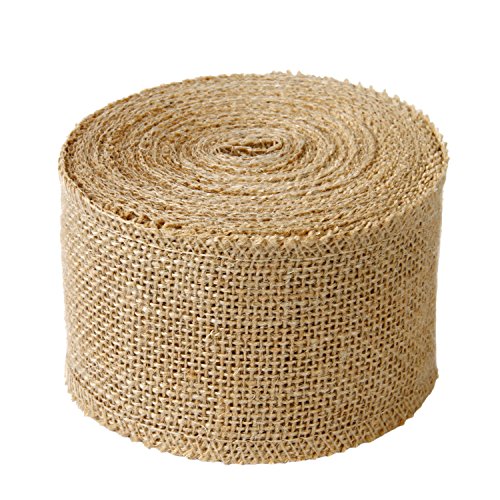
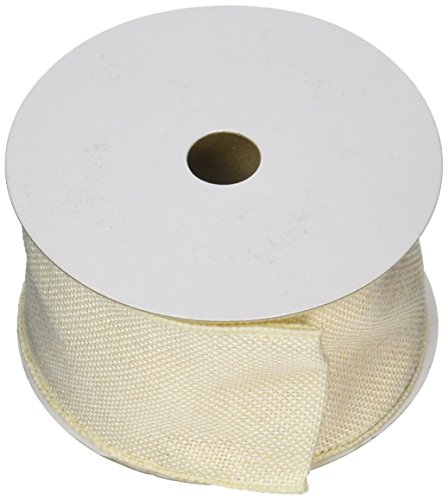
- Wide ribbon in color of choice (I used cream burlap ribbon)
- Stapler
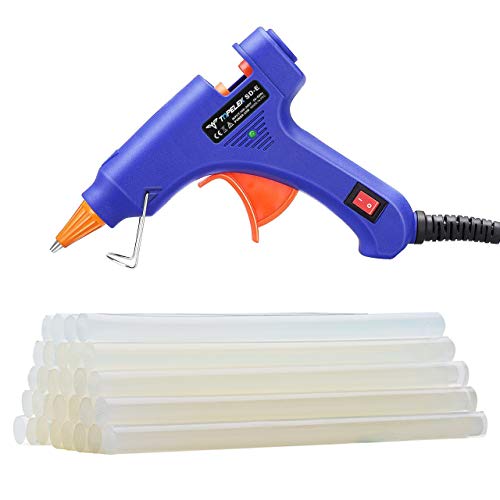
- Hot glue gun
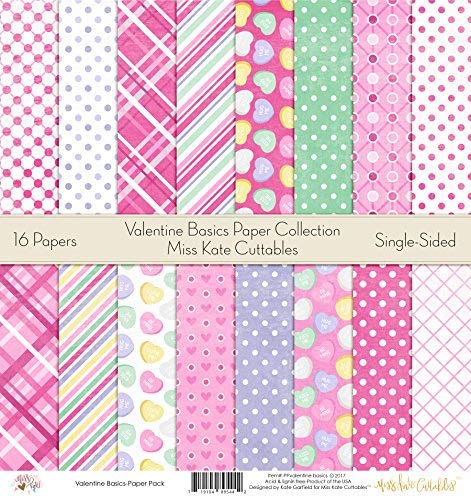
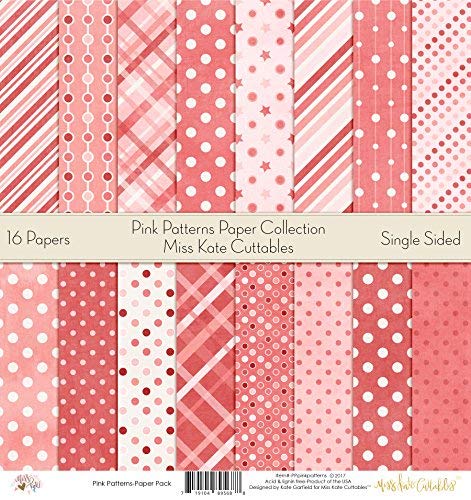
- Scrapbooking paper (color of choice)
- Cardstock (color of choice)
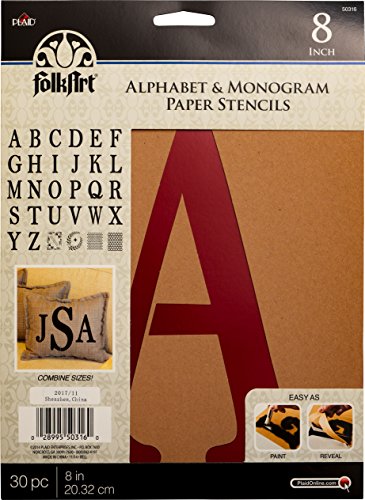
- Letter stencils
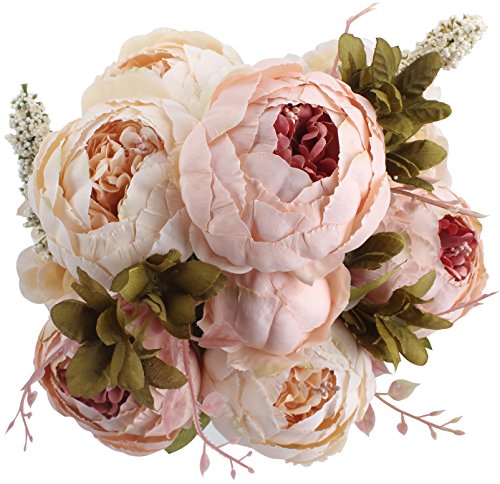
- Fake flowers or other decorations of choice
- Scissors
Steps for your DIY Valentines ribbon wreath:
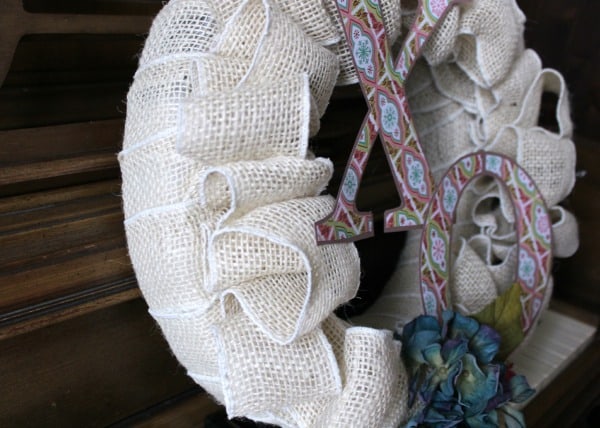
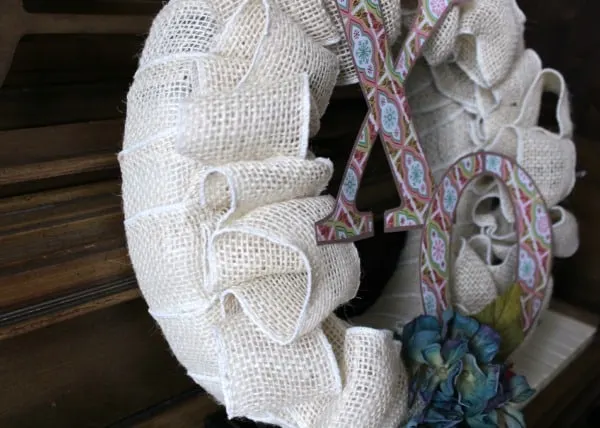
- Wind ribbon around the entire wreath form.
- Once you get all the way around, you can continue with the same length of ribbon (if your spool is long enough) to make the “frilled top portion. Simply “pinch” the ribbon together form a partial “bow” or loop about 3-4 inches wide. Staple the loop at the base. Make 9 loops, stapling each one as you make them.
- Hot glue the 9 loops down onto the wrapped wreath form. If you don’t have a hot glue gun, you can try using straight pins to stick the loops into the wreath form.
- Continue around the front of the wreath until done. (Actually… it looked like I was about to run out of ribbon, so I made loops of the entire length, glued down the beginning and end, and then arranged the rest evenly in between so I wouldn’t fall short at the end! You can do this too if you like)
- Cut out letters of your choice. A set of monogram stencil letters make this easy! You can do XO like I did, or your initials. I cut out one set of letters from solid cardstock. Then I cut another set from patterned 12×12 paper. I cut around the patterned letters about 1/8″ and glued them to the solid letters for a stiff background and a contrast border.
- Hot glue completed letters across the wreath.
- Attach any other embellishments like flowers, etc. to the wreath using hot glue.
Your DIY Valentines ribbon wreath is done! Hang and enjoy!
Shop for your DIY Valentines wreath making supplies:
Here’s a few items you may need to get started. Please check sizes and quantities if you click through to purchase, as you may need larger/smaller stencils or rolls of ribbon depending on the size of your wreath. These are just suggestions!
Styrofoam Wreath Bulk, 16″3 Pack, 14 in. Prefinished Coco Fiber Wrapped Biodegradable Wreath FormLaribbons 3Wired Faux Burlap Ribbon, 2.5-Inch by 10-Yard, IvoryUppercase Times New Roman Alphabet StencilFolkArt Stencil Paper, Alphabet & Monogram SerifPattern Paper Pack – Valentine Day Basics – ScrapbookPattern Paper Pack – Pink Patterns – ScrapbookDuovlo Fake Flowers Vintage Artificial Peony SilkHot Glue Gun

Are you a wreath-maker? What’s your favorite style of wreath?

Check out my DIY Yarn Wreath idea too – could definitely be adapted for Valentine’s Day!
As an Amazon Affiliate I earn from qualifying purchases.


E.S. Ivy
Friday 9th of January 2015
I saw this in the Pinning Perfect group and noticed the piano in the background - is your piano from something like the 1950s? I think we might have the same piano model!
Rachee
Sunday 2nd of February 2014
I have never really been a "wreath person" but seeing all of these tutorials make me want to give it try. Your instructions seem possible, clear to understand and quite doable.
Emily
Saturday 1st of February 2014
That's really pretty! Looks like something you'd buy in a store.
Stefani
Saturday 1st of February 2014
This is really cute. Looks like it isn't too hard either. Thanks for the great idea.
Aimee Smith
Saturday 1st of February 2014
This turned out so stinking cute! I would love to do it with a monogram and just leave it up all year!