Upcycled Christmas cards are the semi-homemade way to make great, personalized cards without all the muss and fuss of making them completely from scratch. Years past, I handmade all my Christmas cards (over 50!) with cardstock and scrapbooking materials. After kids? Ha! I usually send photo cards to friends and family these days. But sometimes I find myself needing a Christmas card without our family on it - for greetings to people like the mailman, newspaper delivery, and more. Sometimes you just need a generic card, right?
Over the years, I've saved all the pretty Christmas cards I receive. The photo ones, I keep in a box to remember my friend's kids, but if the card had no personal message in it, I stick them in my craft bin. If you don't have a collection like I do, thrift stores will often have piles of slightly opened and unopened cards at a low price.
For some extra fun, this craft pairs well with our Popcorn Balls Gift. Perfect for friends and neighbor gifts.
Create Your Own Upcycled DIY Christmas Cards
This year, I finally decided to make use of them. Instead of going to the store and buying a box of Christmas greeting cards, I made my own DIY upcycled Christmas cards with them!
Of course, you can go incredibly basic and simply cut out the front of the Christmas card, and glue it onto a folded piece of cardstock for a brand new card. However, there's more ways to add a personalized touch to upcycled cards!
Amazon affiliate links have been used in this post.
What You'll Need to Create Upcycled DIY Christmas Cards
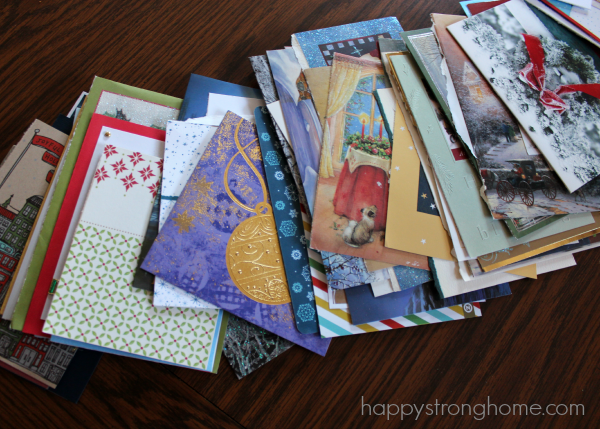
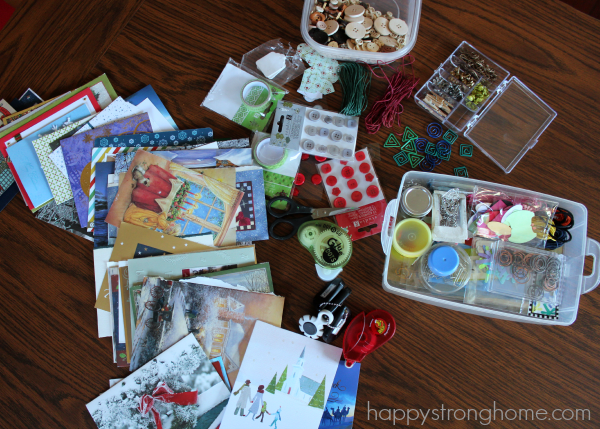
- A large stack of old greeting cards
- Package of blank cards and envelopes - I go for the larger 5 x 7" size
- Liquid glue stick
- Fine point/detail scissors
- Double-sided tape runner
- Glue dots
- Foam adhesive squares
- Large paper punches or make yourself a circle or star pattern, if you don't have a paper punch
- 12x12 paper cutter - trust me, you'll want this!
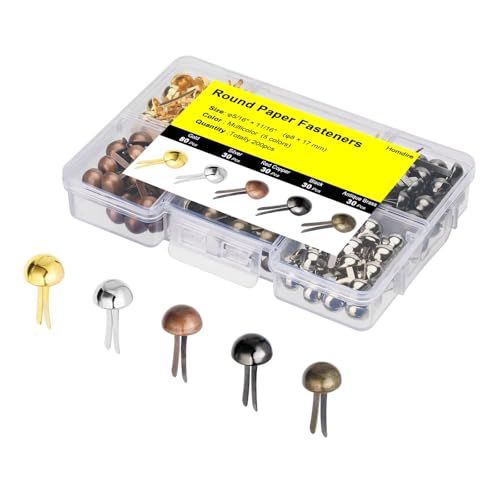
- Embellishments - ribbons, paperclips, buttons, glitter, brads, etc. I have loads of this stuff, so it's getting put to good use this year!
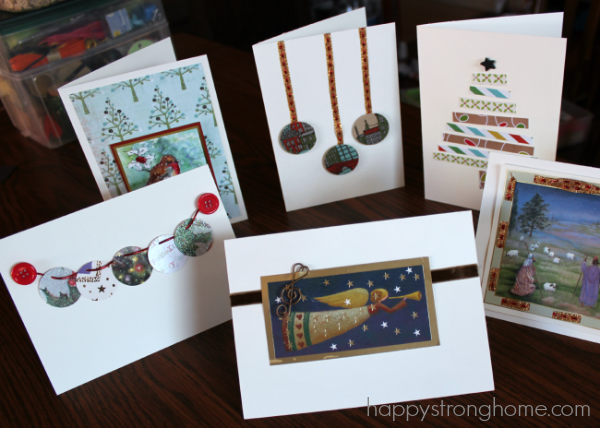
Ways to Personalize Your DIY Upcycled Christmas Cards
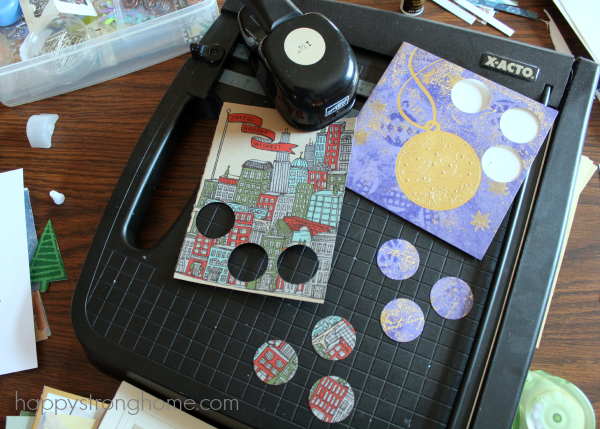
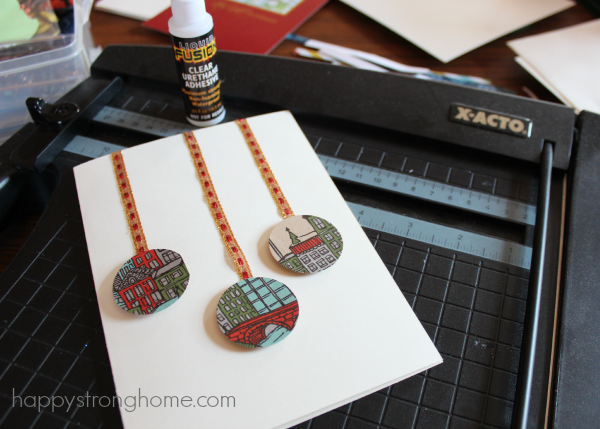
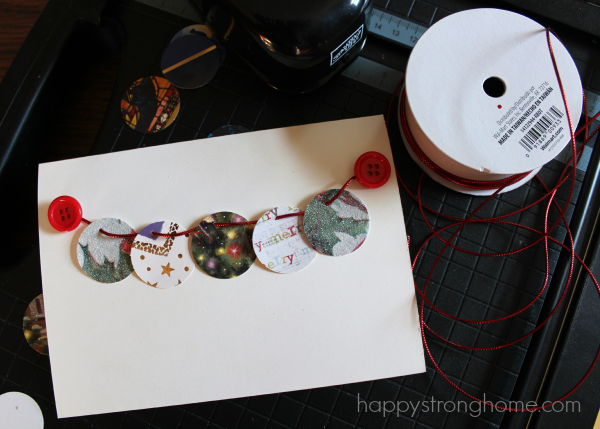
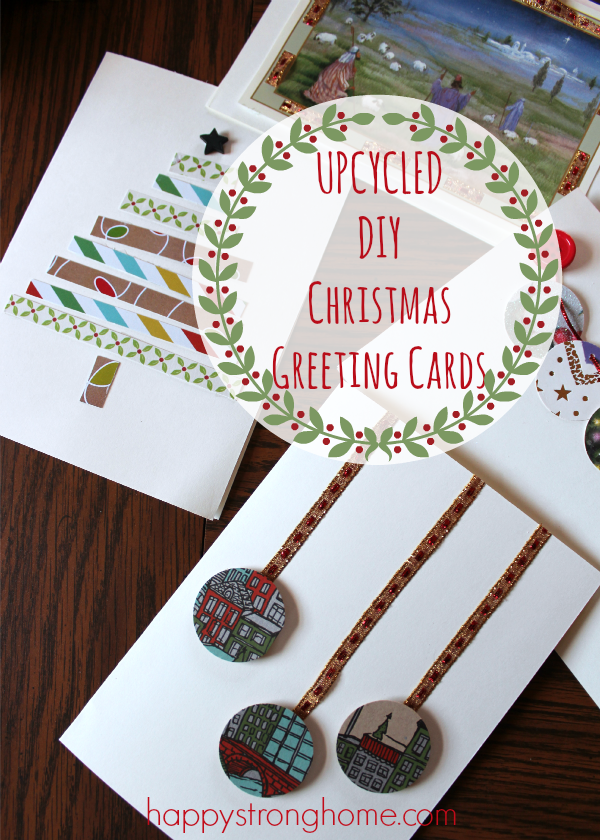
Punch Circles
First, punch out the prettier sections of cards into circles to create ornaments, strings of lights, and more. Try using other shape punches and see what happens!
Deconstructed Trees 'n Things
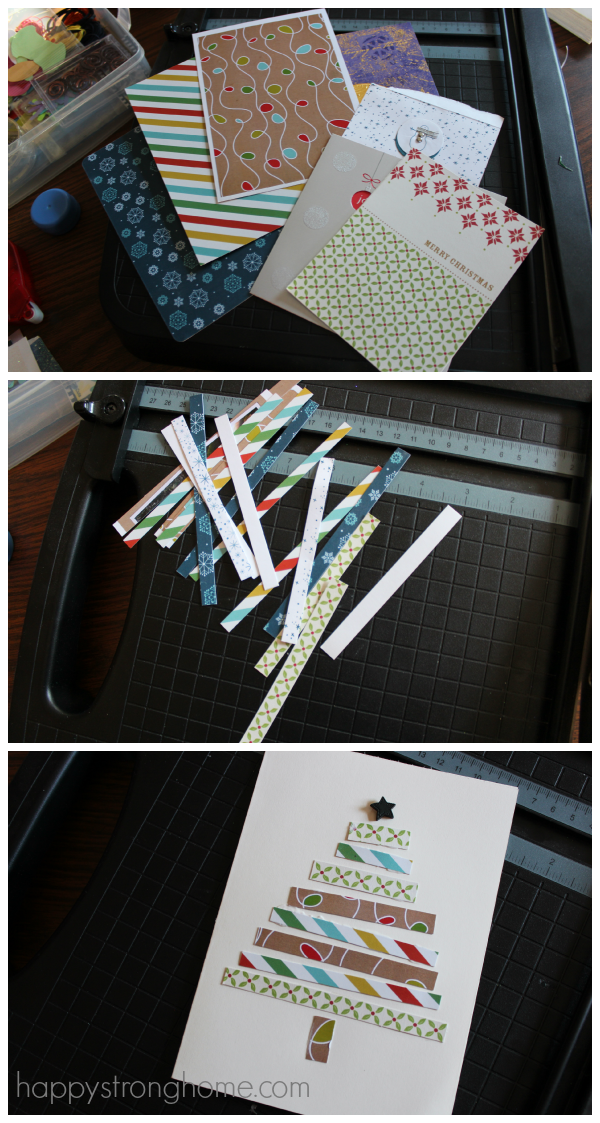
Many cards have great patterns or textures to them, on the back sometimes even. I slice these up into ¼" strips (or punch into circles - see above!) and then use them to build Christmas trees, ornament bulbs and the like! Top with a button star or draw one on!
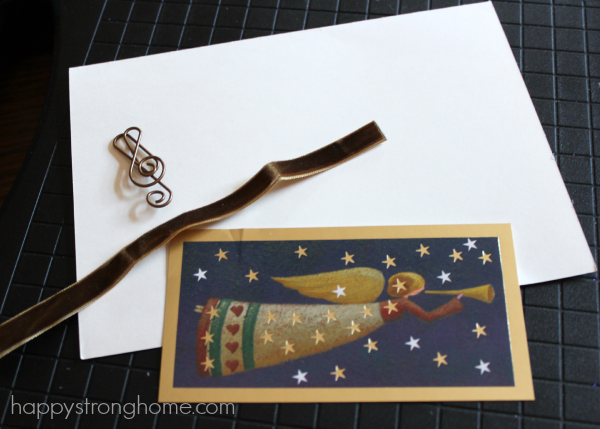
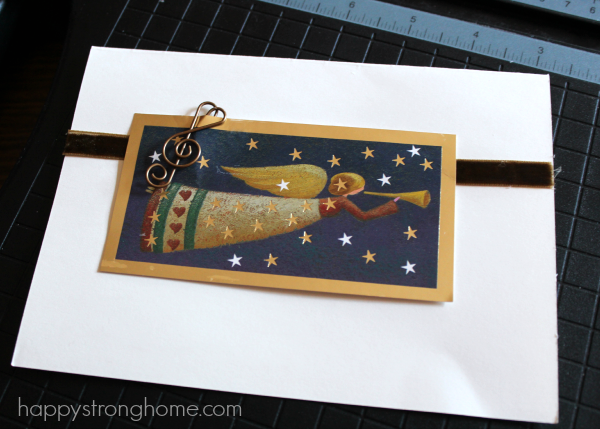
Embellish with Trinkets
Sometimes it's just as simple as cutting out the main image from a card and remounting it over a ribbon or piece of card stock. In addition, you can then add brads or paper clip embellishments that match the design or color!
Laced Ribbon
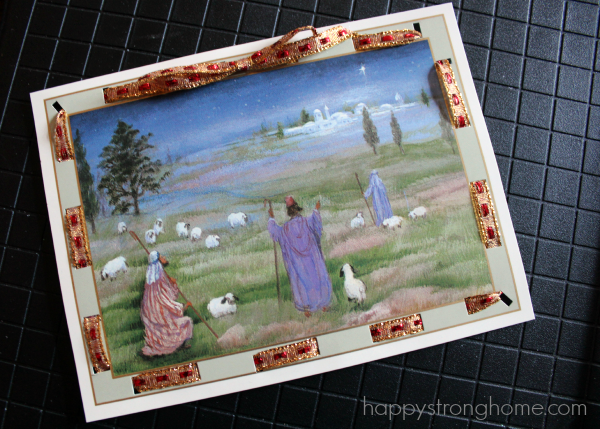
For larger card fronts that you wish to keep intact, add interest by punching some holes along the entire outer edge. Then thread a thin ribbon through and either leave ends behind the card for a clean finish or tie into a bow at the top or bottom. Affix to a larger card with double-sided tape.
Sparkle Embellishment
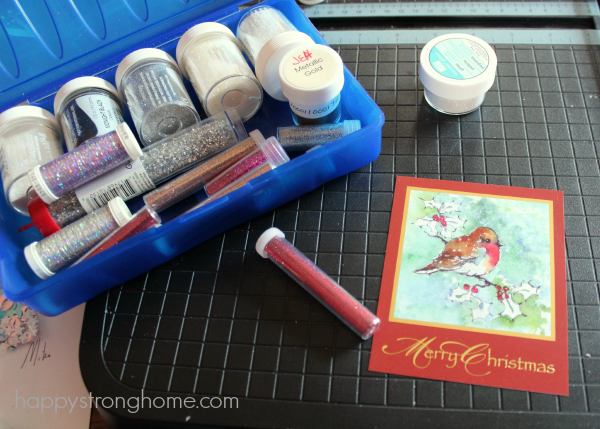
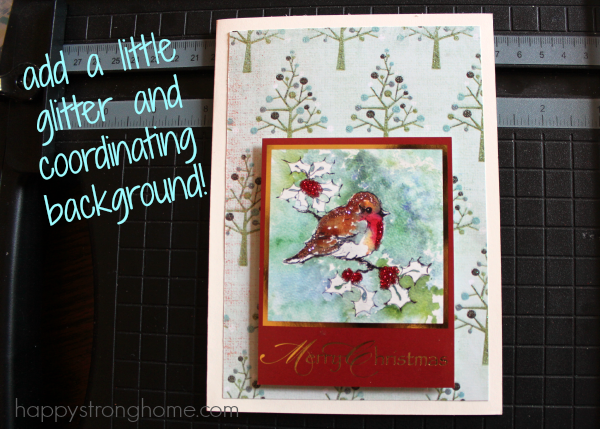
If you have a matte picture card, trace the main portions of the image with a liquid glue stick. Last, sprinkle some sparkles or glitter over the glue tracings. Let it set for a minute, then shake off excess. Voila! You just prettified the picture! This bird card is my favorite because I happened to have that lovely tree paper to put behind it - it looks made for this card! Hope you can see a glimmer of the sparkle in that photo!
Now, these cards are a bit more plain, because I was trying to put them together quickly to show you some ideas. But I plan to go back and add on further to them.
Some Ideas for Adding More to These Card Creations
- Stamping a large background texture stamp behind the image
- Layering cardstock two or three levels to give a framed look
- Using word stamps on the front of the cards - for instance, the string of Christmas ornaments or lights, I have a large "Celebrate" stamp that would fit across the entire blank space at the bottom.
- Tying ribbon around the fold in the card - a simple way to add an embellishment to any card.
- Affixing the images with brads or buttons
- Using printed background papers that coordinate with the colors or imagery (see the sparkly bird card).
Shop for supplies
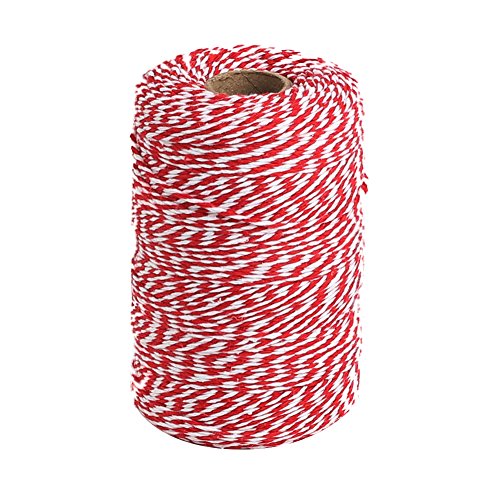
EK Tools Large Circle Crafting Punch 2.25"EK Tools Circle Punch 1 InchRed and White TwineGold Heart Shaped Paper ClipsBrads for Paper CraftsScrapbook Tape, 4 Pack Double Sided Tape Roller


How Would You Upcycle Your DIY Christmas Cards?
If you have a craft post or tutorial that shows how to use old greeting cards, please share in the comments (I am trying to make a linky but it's not working!)


SO CUTE! You are AMAZING!
I just love this! You wouldn't believe the stack of cards I have just waiting to be put to another good use. Thank you for this brilliant and creative idea.
I will have to hold onto the cards we get this year for next year. I love re-using items and those turned out so cute. I was trying to make my own cards this year and then my cutting machine had issues so I just bought some.
I will have to hold onto the cards we get this year for next year. I love re-using items and those turned out so cute. I was trying to make my own cards this year and then my cutting machine had issues so I just bought some.
This is such a great idea! I would like to set up a little center in my classroom for students to make their own cards. I'll have to ask them to save their Christmas cards this year!
Now those are super cute! I like the upcycled cards better than the originals! What a great way to use up old cards!
I love the ornament and tree cards the best. So pretty.
I love the ornament and tree cards the best. So pretty.
What a great idea. I would never have thought of doing this. Totally adding it to my list for next holiday season... Thanks
What a great idea. I would never have thought of doing this. Totally adding it to my list for next holiday season... Thanks
These are some lovely ideas, thank you for sharing! I've been saving my cards for years and I'm planning to do some Christmas crafts with my son with them. Maybe we'll make next years cards together!
These are some lovely ideas, thank you for sharing! I've been saving my cards for years and I'm planning to do some Christmas crafts with my son with them. Maybe we'll make next years cards together!
I love the circular punch and the tree! Those turned out awesome!!
That's a fantastic idea for reusing this year's Christmas cards. I am so stealing this idea for next year!
That's a fantastic idea for reusing this year's Christmas cards. I am so stealing this idea for next year!