For Valentine’s Day, the boys and I made pink marbled paper, then cut out hearts and strung them on garland around our dining room mirror and chandelier. So pretty! I was thinking how this simple DIY marbled paper craft could be fitting for any season or holiday. You just have to change the colors up!
You can find directions for marbled paper craft all over the internet. I just used what I knew from memory, so there may be different ways to go about this. Here’s what we did.

DIY Marbled Paper Craft
Materials:
- Heavy-duty card stock (white or light) – you need to get the heaviest you can as the paper gets a little damp. Lighter weight paper will fall apart or get warped. Darker papers won’t pick up the color well.
- Shaving cream (not gel)
- Food coloring
- Paint (optional: thin out with a little water, not too much. Put into some kind of “squeeze bottle” so you can drip it out)
- A large cookie sheet
- Spatula
- Plastic fork
- Paper towels or cloths

Directions:
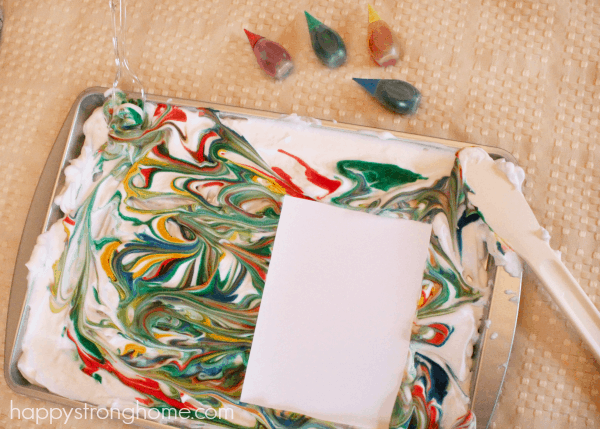
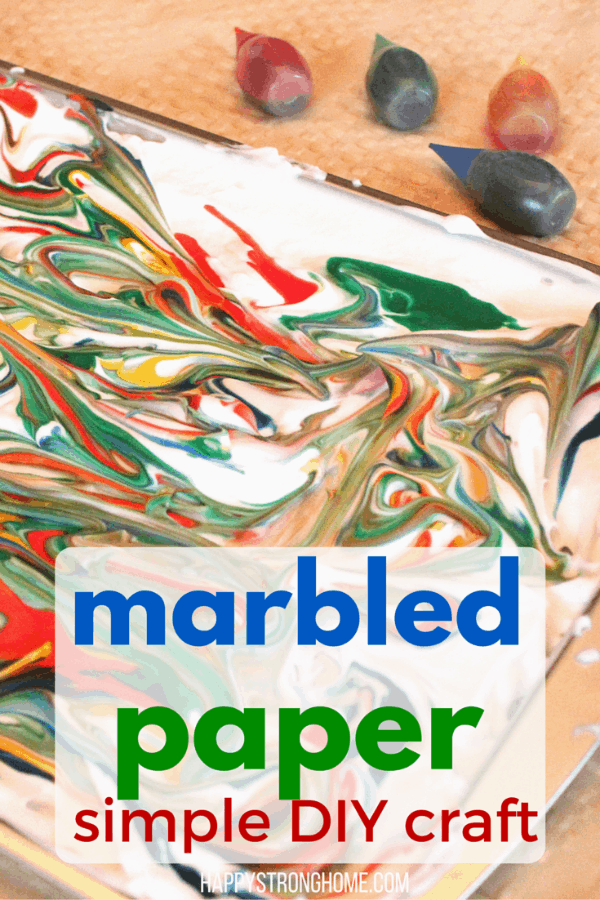
- Spread about a half-inch of shaving cream over the cookie sheet. Spread evenly.
- Scatter several drops of food coloring across the cream. Try a single colors, duo-colors, or a variety of colors. I used all four colors in the typical food coloring box.
- Use a plastic fork to “blend” the colors across the cream. Avoid over blending as you’ll get brown! Try for lots of long skinny lines of color against white cream versus completely mixing the color in. This will give you the most contrast. Peaks and valleys are normal. Don’t smooth them down.
- Lay a piece of card stock on top of the cream. Then, press in gently to be sure shaving cream touches the entire surface of the paper.
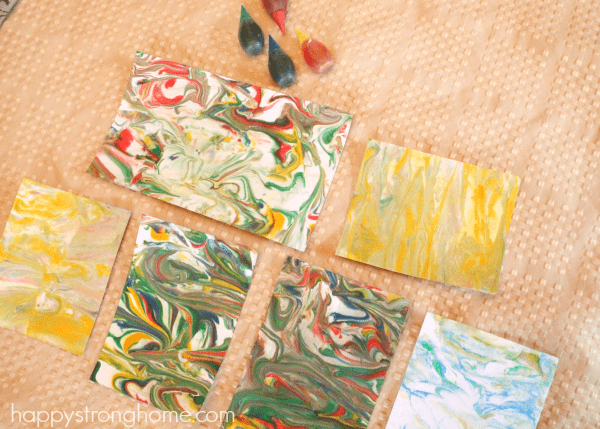
- Gently remove paper from pan, and lay face-up on a kitchen towel.
- Use the spatula to scrape the cream off the paper cleanly. (If using thinned paint, go gently and slowly, as the paint has more of a tendency to smear).
- Wipe off any excess with a paper towel. (If using paint, blot gently so you don’t smear the paint).
- Be amazed at the magnificent marbled paper craft you have just created!
Craft ideas for your marbled paper
Use this paper in any number of ways – create cards, place markers, bookmarks, gift tags, cutouts and more!
We used just red one time, and then cut hearts out of the resulting pink-swirled paper. With a hole-punch we added a hole for stringing into a garland for Valentine’s Day! Bonus – they smell REALLY clean!
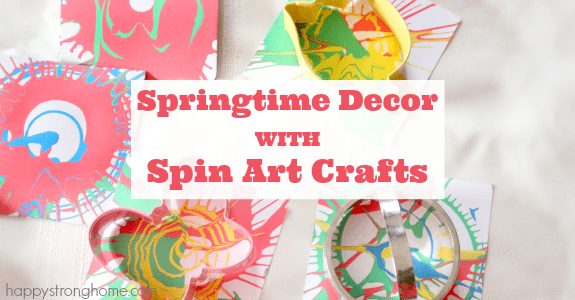
Want more swirly-twirly craft ideas? Visit my post about Kid-Made Springtime Decor with Spin Art Crafts over at the Melissa & Doug blog!
I am a Melissa & Doug blogger, and this post was created in connection with my compensated guest post on their blog.

Rosie
Sunday 5th of February 2017
This is so cool! I would want to do it when I know they are wearing clothes that can take a good washing! But the results are worth it!
Easy Winter Lantern Craft for Kids - Lasso the Moon
Thursday 26th of January 2017
[…] Simple DIY Marbled Paper Craft […]
Courtney
Tuesday 15th of March 2016
I absolutely love this and want to do it with P but I hate messes. bahahaha. But I will cuz I'm so nice! :)