We've had a series of snow days here, so it was time to get out the craft stuff! I've been wanting to teach my boys how to sew buttons (yes, we're raising little Renaissance Men here!). So when the chance came to partner with Oriental Trading to do a drawstring bags project, I had the perfect idea!

Sponsored post.
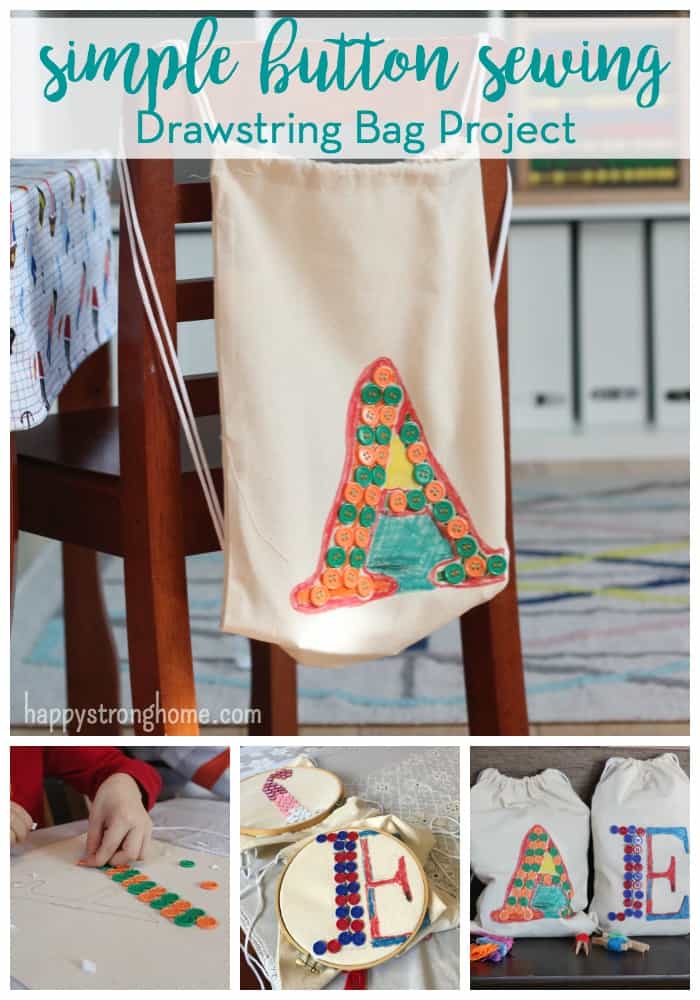
Simple Button Sewing with Drawstring Bags Project
I almost couldn't believe how easily this project came together, and I think I owe it all to the amazing adhesive buttons I found at Oriental Trading. I mean, they're practically like stickers and what kid doesn't want to design with colorful stickers, right?
So... (sew buttons, I say! LOL)... while I thought the boys would balk at the sit-down-and-concentrate craftiness, they were dedicated little learners. Okay, did it help that I promised if they worked for an hour, I'd take them to the indoor playground? Maybe... Still, they were enthusiastic start to finish and now they know how to sew a button!
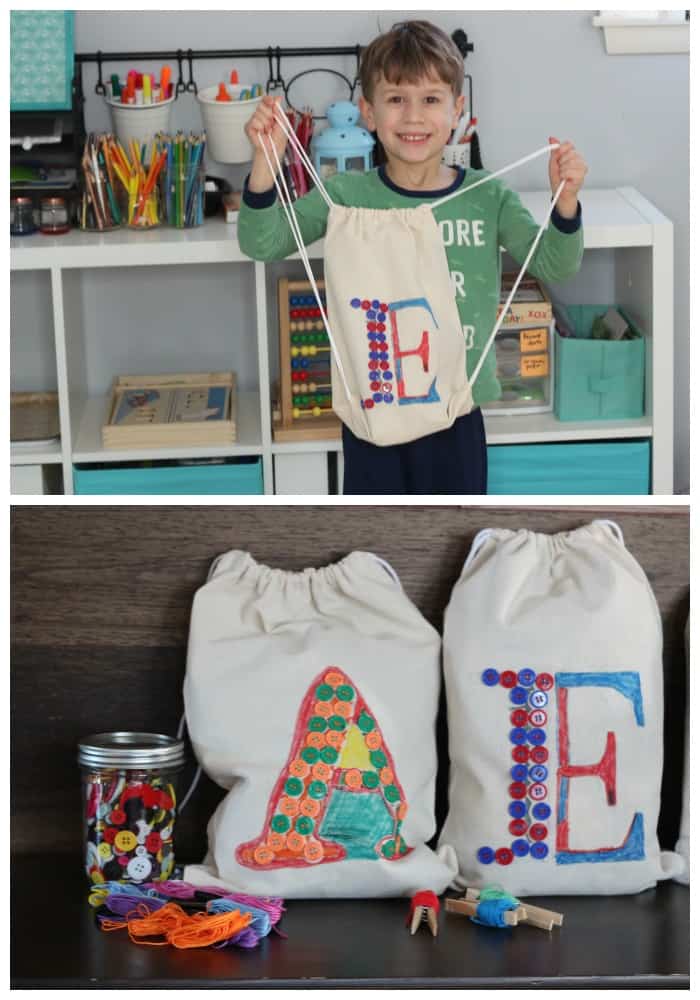
I thought the project would have more meaning and purpose if we used the buttons to create monogrammed drawstring bags for each of the boys. I was right. Every kid loves to see their name (or initial) on their belongings. From there, the project just unfolded so naturally. Here's a list of supplies we used and a step-by-step tutorial.
Button Monogram Drawstring Bags Tutorial
Materials:
- Solid drawstring bags - the boys wanted the linen colored ones, although there's a set of brightly colored bags that I thought were fun!
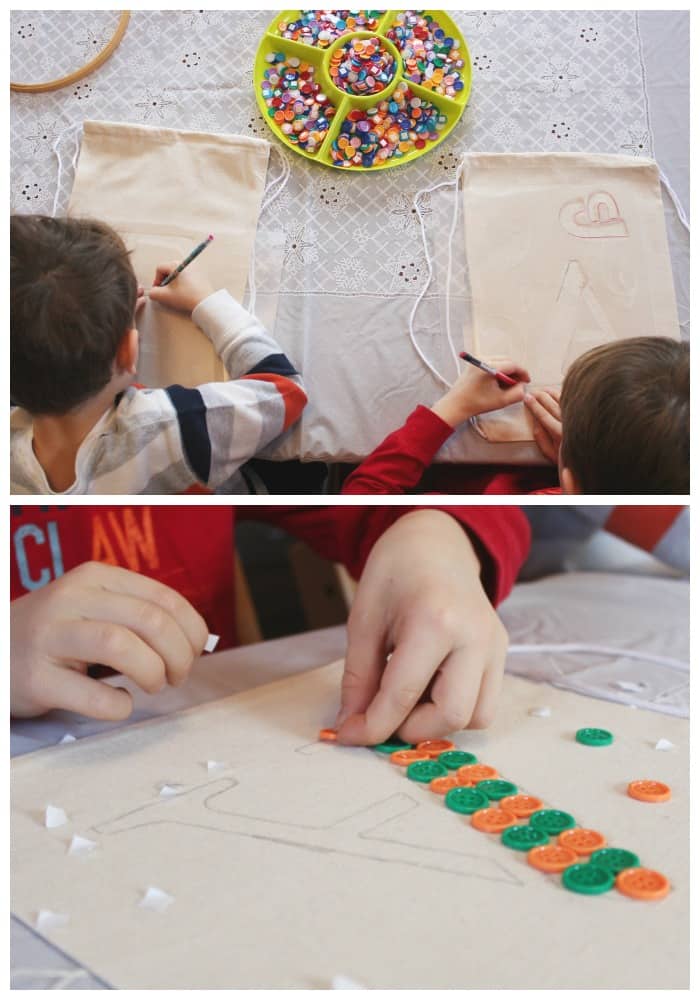
- Monogram stencils - each sheet has several designs of the same letter on it, including one extra large letter font which is what we used for our bags.
- Buttons! - be sure to check out these awesome self-adhesive buttons, which is what we're using in these photos. I also got buttons in other colors and some decorative animal charms in case the boys wanted to add a theme to their bag (turns out neither of them wanted to add the animals to their bags, but I have some other ideas for those charms!).
- Embroidery hoops - measure your bag size and make sure the hoop is not too big for the inside of the bag, or too small for the initial. You could technically do without this, but for small children it was so helpful to have the material stay in place while they sewed.
- Embroidery thread/floss - a thicker thread, double threaded on the needle means kids only have to stitch each buttonhole once, and they get a good thickness.
- Embroidery needles - this you'll have to get elsewhere as Oriental Trading doesn't sell them. But you need this kind to fit through the button hole and poke through the fabric well. They are dull so kids can't hurt themselves.
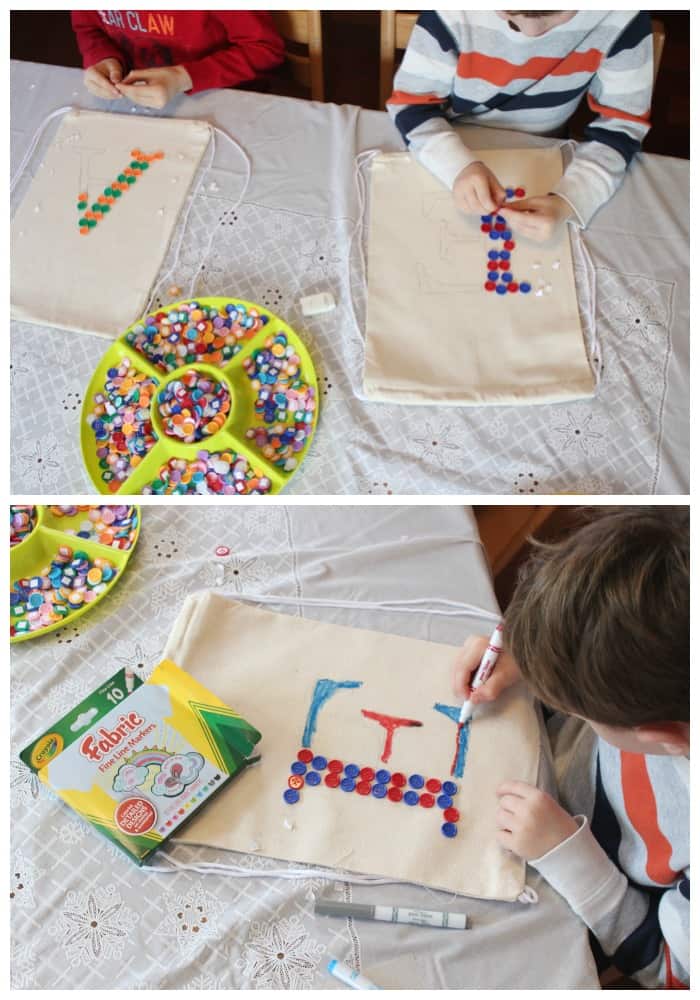
- Fabric markers - for tracing and adding details
Directions:
Have kids trace their initial onto the drawstring bags. Be sure to place a little down from the top to allow the bag to gather without squishing your decor. In retrospect, I actually wish I'd placed ours little higher, but... at least they are not in danger of smooshing.
Using adhesive buttons, fill the inside of the stenciled monogram with a button design of child's choice! I decided to "ombre" my initial and the boys liked an every-other pattern. The adhesive buttons can be moved a couple times and still stay sticky.
Place an embroidery hoop around your design with the inner hoop inside the bag (otherwise you'll sew your bag together!) and securely snugly. This makes the material taut and the buttons are easier to see and sew.
Thread an embroidery needle with embroidery floss. For this kind of thread, cut an arm's length of thread (about 18"), then separate two strands out of the six. Otherwise it's way too thick. Thread the needle, and double the thready by bringing knotting the two ends of the thread together at the bottom.
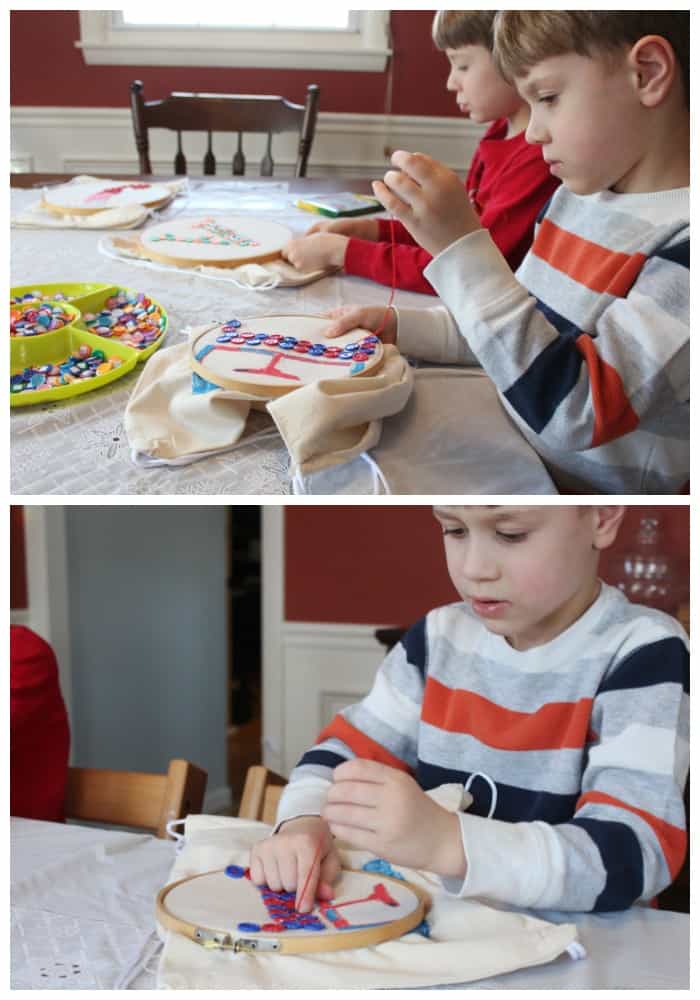
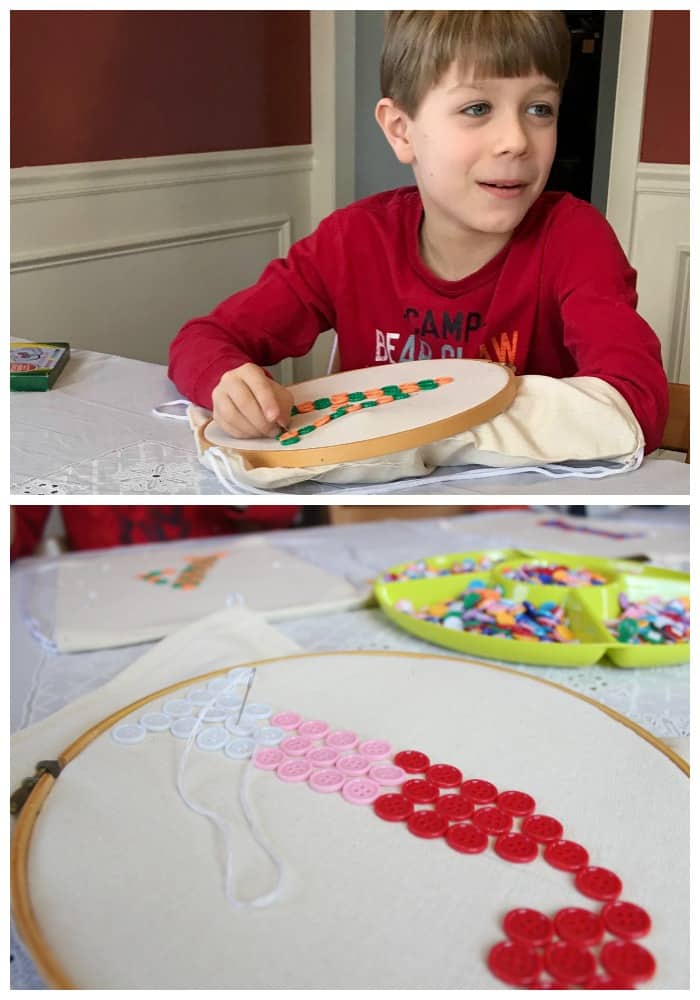
Show kids how to sew each button by poking the needle through the inside of the bag, out through a button hole, and then back in. Be sure the pull the thread nicely taut each time or there will be tangles.
Repeat. Kids will sew in and out of each button hole until they are done. Have kids tell you when they have about three inches of thread left so you can make a knot. Depending on how many buttons kids place and how many colors of thread they want, you will have to rethread at least a half dozen times to finish this project. (Pre-threading multiple needles can help).
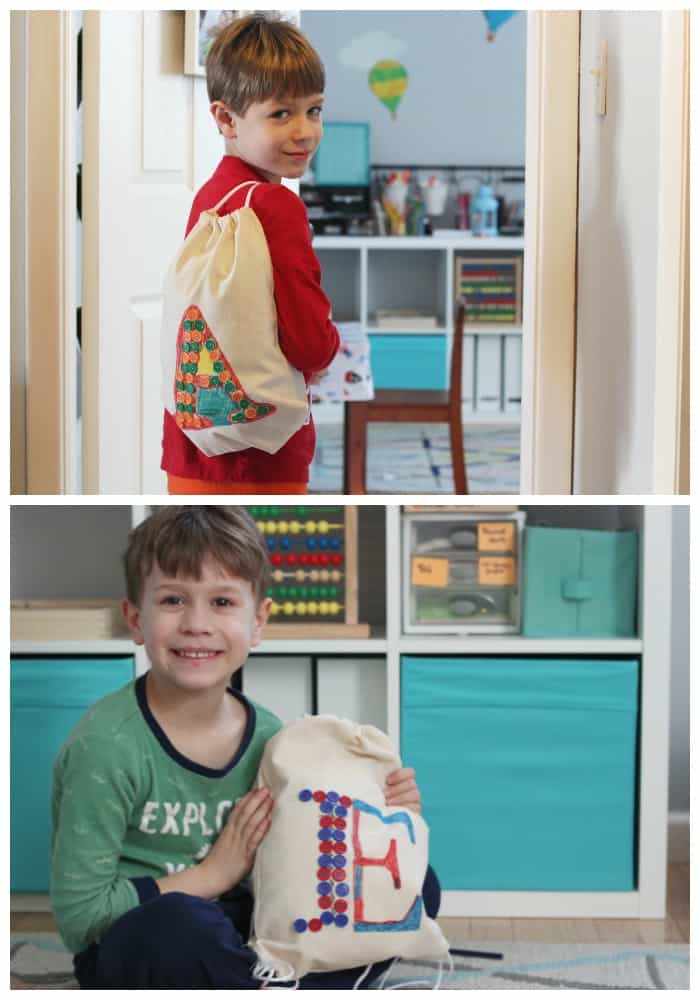
Once the buttons are sewn, kids can use fabric markers to trace around their monogram, or fill in between the buttons. My youngest only wanted buttons on the outside of his E, and he colored in the rest of the design. I have to say, I rather like it!
Could you just stick the buttons on and not sew? Sure, but I can't say how long that would last, since kids will likely want to bring these cute drawstring bags everywhere! Sewing the buttons on teaches kids a valuable life skill, and secures them for long-lasting use!
My boys worked on these bags for an hour one day and maybe another hour the next day. I did sew a few of their buttons myself to show them how to do it, but they did the majority of the project.
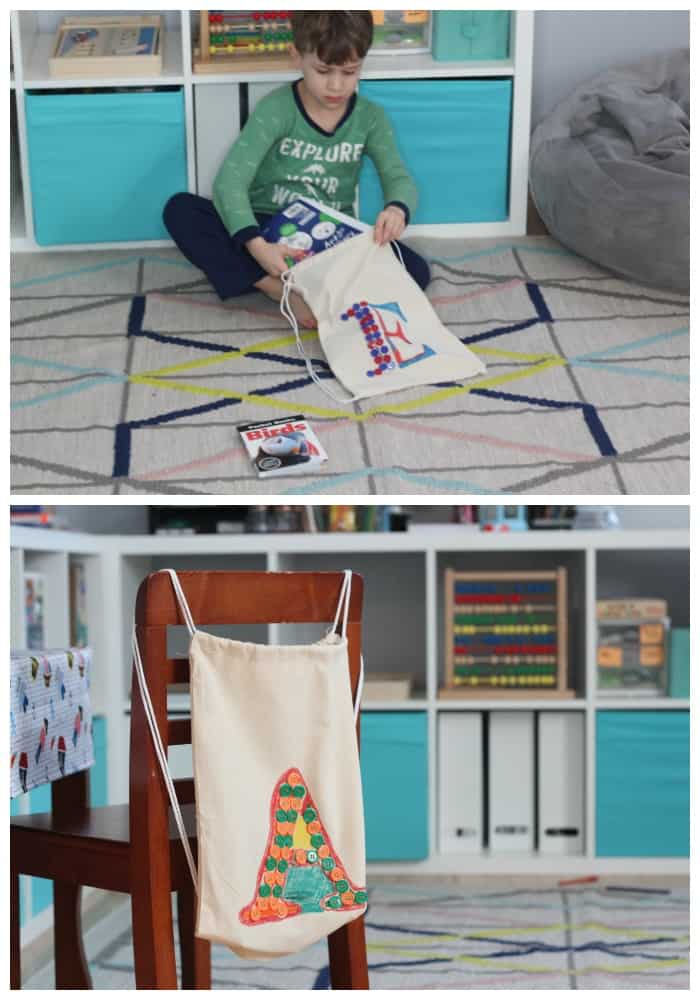
And aren't these just the cutest little finished drawstring bags ever? The boys were so proud of their hard work and immediately started filling their bags with things to carry around. My youngest made a bird watching bag for himself. I made mine into a library book bag, and my oldest just put his random toys in there - which is fine with me because otherwise they are all over!
Other ideas for a drawstring bags project:
- Pajama and lovey bags for sleepovers
- Puzzle or game bags to keep pieces together (stencil the name of the game on each bag!)
- Activity bags for the car
- Gift bags for birthday presents
Teaching kids simple button sewing with this drawstring bags project turned out to be simple, easy, and - FUN! What else could we use these bags for... I wonder!?
Thanks Oriental Trading for sponsoring this post. All opinions are my own.

Those turned out so cute, Julie! I also love the tip using an embroidery hoop.