Celebrate Ice Cream Day on July 19th (it's the third Sunday in July each year).
Like we needed a reason to eat ice cream. In the summertime.
But still, any occasion that calls for ice cream is fine by me! We enjoy making our ice cream either in one of those fun ice cream ball things or simply in a bag! (Amazon Affiliate)
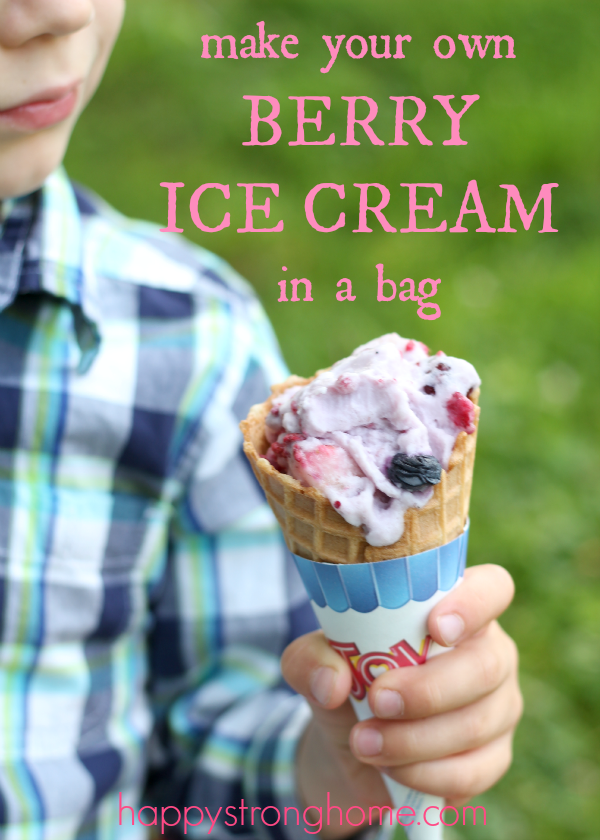
We usually make plain vanilla, but last week I decided we needed some summer berry ice cream!
Berry ice cream in a bag recipe
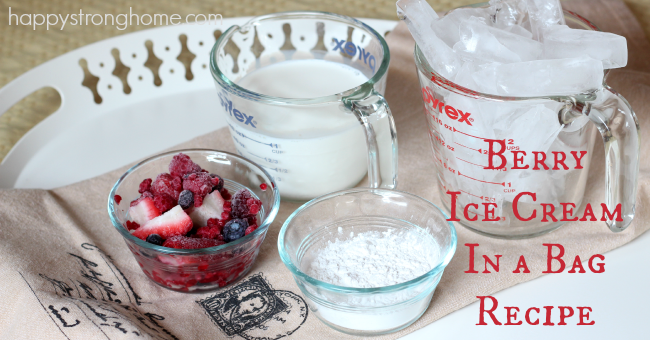
Materials:
- 1 Gallon zipper bag
- 2 Quart zipper bag
- 1 dish towel
- 6 cups of ice
- 1-2 cups rock salt
- 1 cup half and half
- ⅓ cup powdered sugar
- ¼ cup frozen berries
Directions:

Put half and half, sugar, and berries into one of the quart bags. Close, then place inside the other quart bag to ensure no leaks or water/salt gets in.
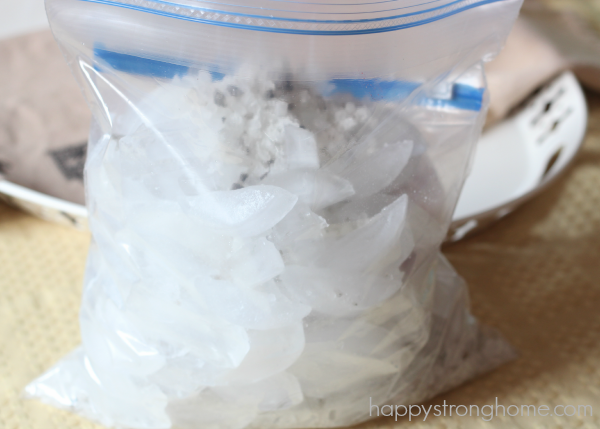
Put about 3 cups ice and 1 cup rock salt into bottom of gallon bag. Place cream mixture bag on top of ice, fill remaining space with rest of ice and rock salt.
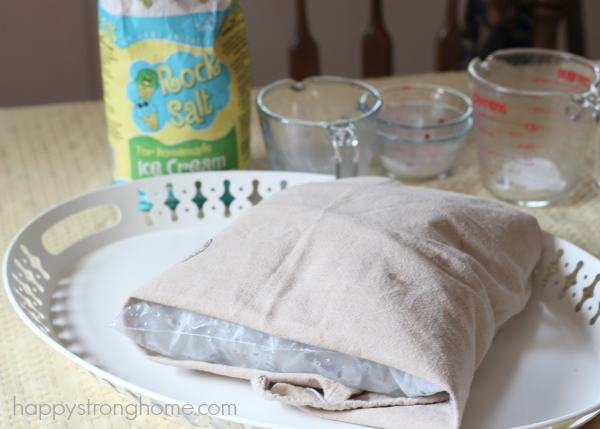
Seal bag tightly. Wrap with dishtowel. Massage ice-filled bag and/or rock the bag back and forth to help all the cream mixture come in "contact" with the ice. Alternatively, you can wear gardening gloves instead of use the towel. The important part is to keep the liquid cream moving so it all freezes.
After about 8-10 minutes, open and check firmness of your ice cream. It should be frozen to a slightly firm texture.
Remove quart bag from ice/salt mixture, wipe clean. Remove inner bag with the ice cream and scoop ice cream into bowls or cones. You can also put this ice cream into the freezer for additional hardness.
Enjoy your homemade berry ice cream in a bag!


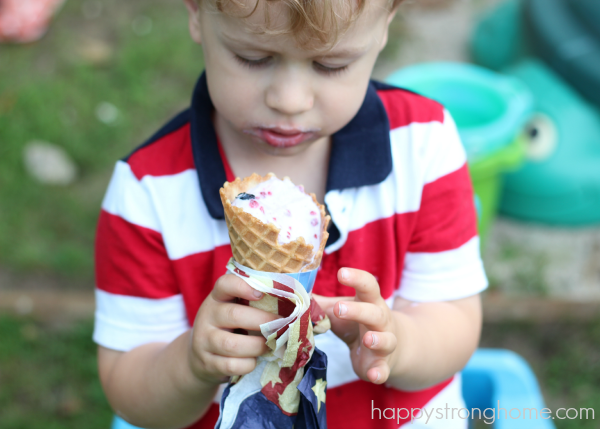

This type of ice cream does tend to melt very quickly once you start eating, so for my little boys I eventually had to put their cones into bowls to prevent a big mess.
I also made them eat outside! LOL! They had a great time eating our homemade ice cream! I love my little guy's super silly face in the last photo!
I found this recipe to be deliciously berry-flavored without being overly sweet, and it turned a really pretty lavender color as well!
Make an ice cream craft to celebrate National Ice Cream Day!
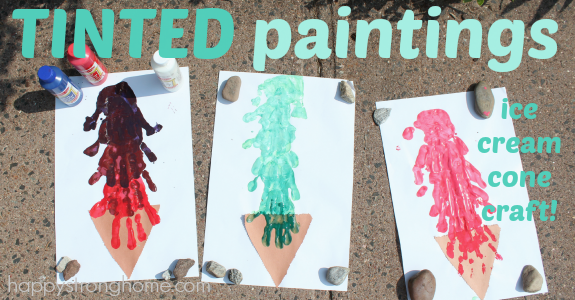
We also celebrated National Ice Cream Day by making tinted paintings featuring Ice Cream Cones! Check out the craft tutorial over on the Melissa and Doug blog! Kids will love learning about mixing colors and color value while creating adorable ice cream cone paintings!
This post is written in connection to my partnership as a Melissa & Doug guest blogger. All opinions are my own.


This is so easy! Gonna have to see if I can find the rock salt around here so we can make this next week! I am finally on vacation!!! Been a LONG year!
I use this kind of an ice bag when I hurt myself
This is so easy! Gonna have to see if I can find the rock salt around here so we can make this next week! I am finally on vacation!!! Been a LONG year!